
Import tickets from an email account
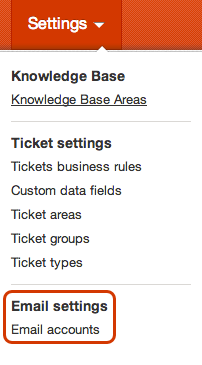
Go into the Settings menu on the top.
Choose
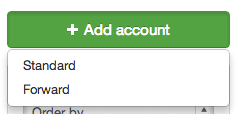
Press the green + Add account button.
Insert the email address you wish to import.
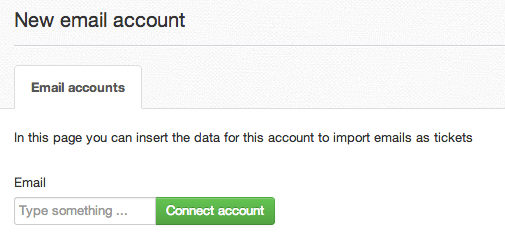
By clicking on Connect account you'll get access to a more detailed panel where you'll need to fill in all your account details: you Email address, your Username (in case your email provider requires you to use a username different from your email address), your email Password, the Server name, the protocol the server use (choosing from IMAPS or POP3. If your server uses SSL encryption over IMAP protocol, pick IMAPS).
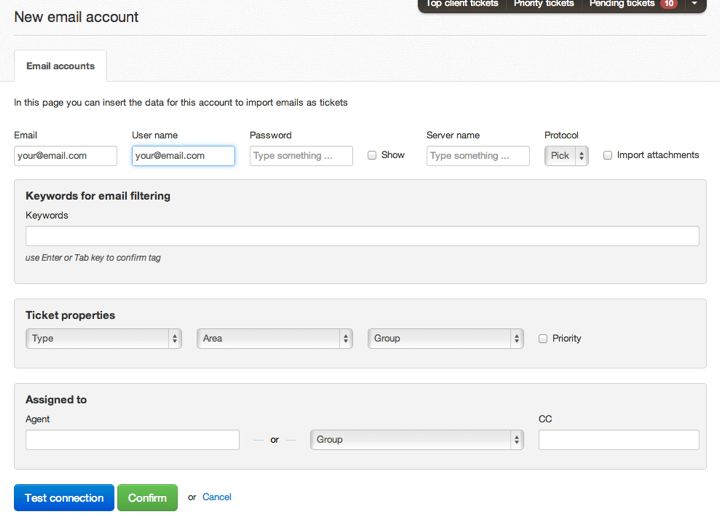
Check the Import attachments checkbox on the right, if you need it.
You can also configure specific keywords to customize your import: this become quite handy when setting up contacts forms on you website, because Deskero will import only emails with the keywords, you have selected in the Keywords for email filtering section.
Set ticket properties and assignment rules.
Ticket properties define type (incident, request, task, notify); area (technical issue, general information, new feature request); group (Deskero cloud, custom installation) and priority (if flagged, tickets coming from this channel have priority over others).Assignment rules let you assign tickets coming from this channel to an agent or a group of agent. You can also choose to put in CC another agent.
Click on Test connection
Hit the Confirm button.